


 0
0
A shirt is ironed in ten steps and in a precise order: the body first, left front, back, then right front, followed by the sleeves, the collar with its points turned up and on the reverse side, and finally the cuffs, unbuttoned. The iron is set to cotton, very hot, and never lingers on the buttons or the interfacing. At Swann, a Paris house of made-to-measure shirts, we set out each step below with advice from our workshop.
The simplest approach is to follow these 10 steps to iron your shirt. There is a logic to working this way and, above all, a simplicity, since it makes handling the shirt on the ironing board easier and keeps it to a minimum. The diagram below shows the different steps and the order in which to take them.
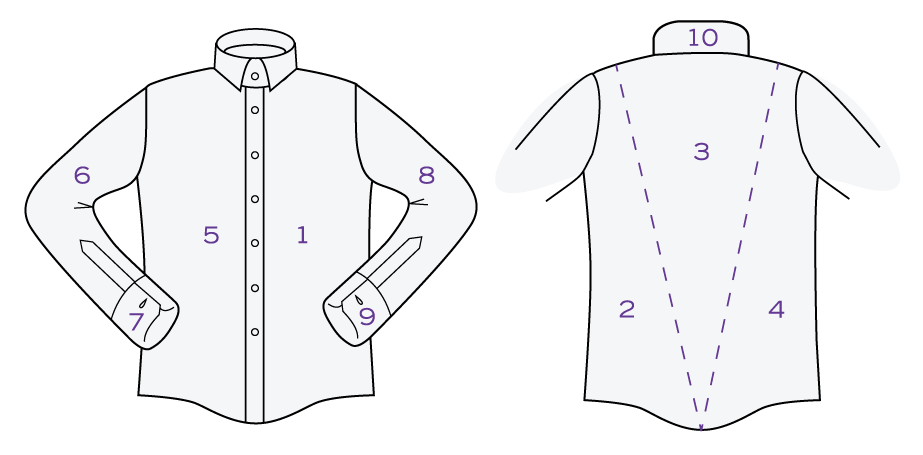
Ironing a men's shirt is often something of an ordeal, when in reality it is not as complicated as it seems. There are a few tricks to know and, above all, a habit to form. Persevere, and after two or three sessions you will have it mastered, and you may even find a certain satisfaction in it. Really.
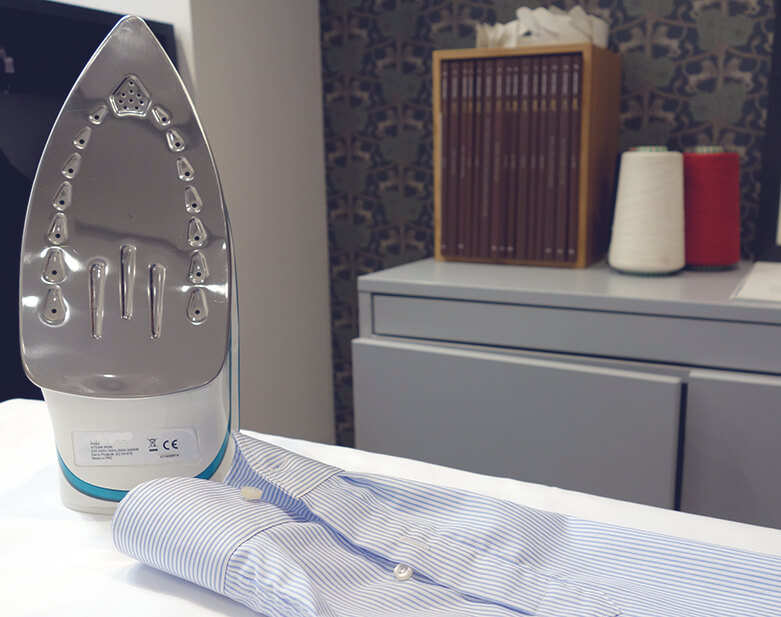
We begin ironing the shirt with its body, that is to say the left front, the back and then the right front, in that order, sliding the shirt round the ironing board. Make sure your iron is properly hot: it should release steam when you press the steam button.
Let's begin.
See our easy-iron fabrics
Start with the left front (1), fitting the armhole over the rounded end of the ironing board.
The shirt is now held in place and you can iron this first front panel, from the side seam to the buttonholes on the placket, and from the hem up to the collar and armhole seams.
Check that the fabric folded back on the reverse side of the placket, where the buttonholes are, lies flat and is not folded over on itself.
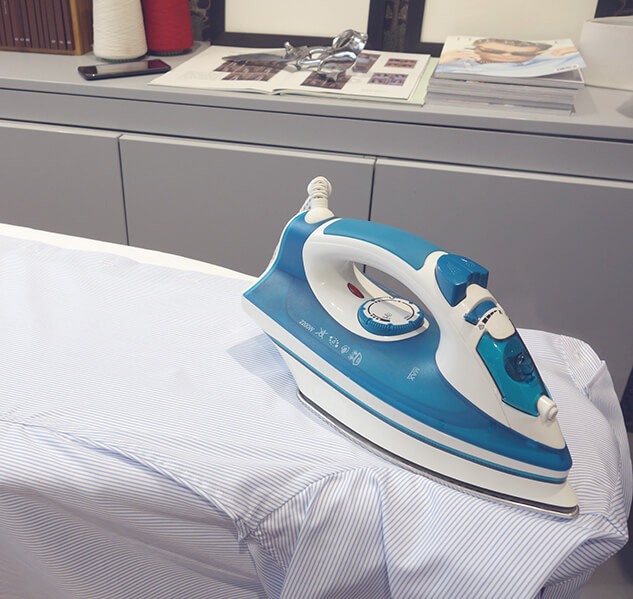
Next, slide the shirt round the ironing board. The front panel you have just ironed hangs down in front of you, and the side seam that lay against the far edge of the board is now against the edge nearest you.
You now move on to the back of the shirt (2), which is fairly simple to iron in three passes. If the back has ease pleats, you can use the same method as for the sleeve pleats: iron them in the air with steam rather than against the board.
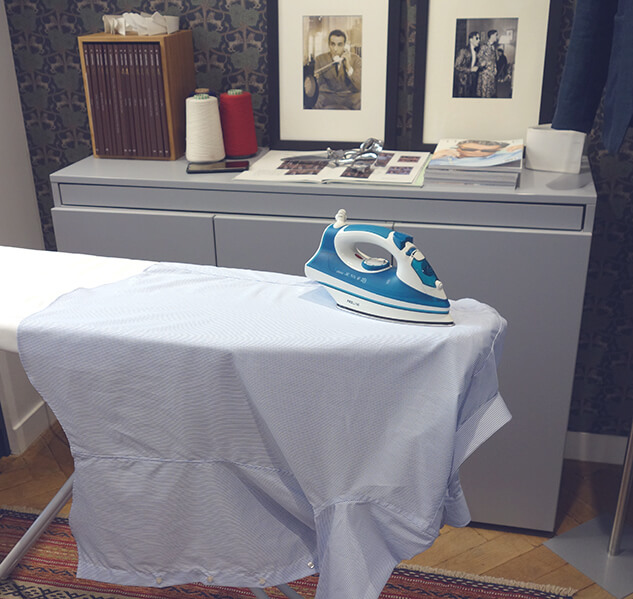
Slide the shirt round again so you can iron the back as far as the opposite side seam (3 - 4).
Finally, iron the right front (5), fitting the armhole over the rounded end of the board as before, and proceed in the same way.
Mind the buttons. Do not run the iron over them, or in time they may break.
As far as possible, avoid touching the button stitching with the iron. With repeated passes, the thread of the shank (beneath the button) can eventually break, and your buttons will fall off one after another.
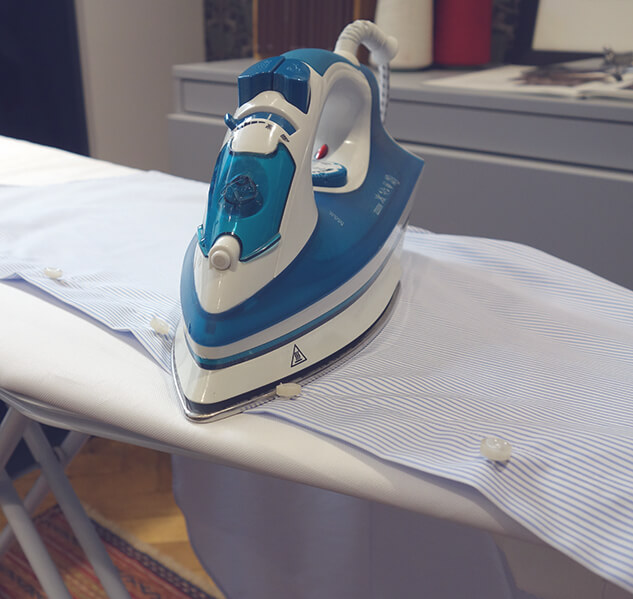
One last point: the yoke (6) is the part of the back between the seam running across the shoulders and the collar.
This part can be trickier to iron, so fit the yoke over the pointed end of the ironing board.
Slide the shirt from the right shoulder to the left shoulder to iron the yoke separately from the rest.
They can be ironed before, after or at the same time as the body of the shirt. Choose the method that suits you best.
Lay the first sleeve (7) flat on the ironing board. There is no need to button the cuff.
With your hands, make sure the sleeve lies flat, with no creases on either the upper or the lower layer, since you are now ironing two thicknesses of fabric.
Place the iron with its point towards the armhole and swivel it from right to left to iron along the curved seam at the top of the sleeve.
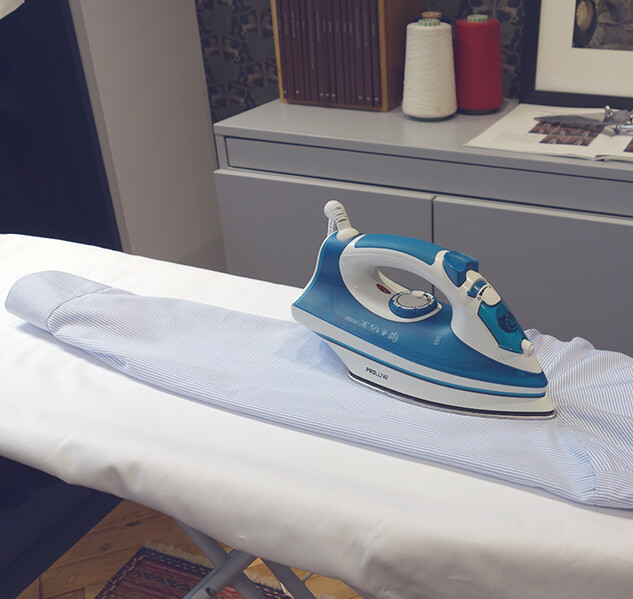
Then turn the iron round and work down to the cuff in the same way, swinging it from right to left.
When you reach the pleats at the bottom of the sleeve (those sewn into the cuff), lift the cuff upwards with your free hand.
The iron moves gently up to the cuff without touching the board, the steam passes easily through the sleeve, and you leave no unwanted crease on this delicate area.
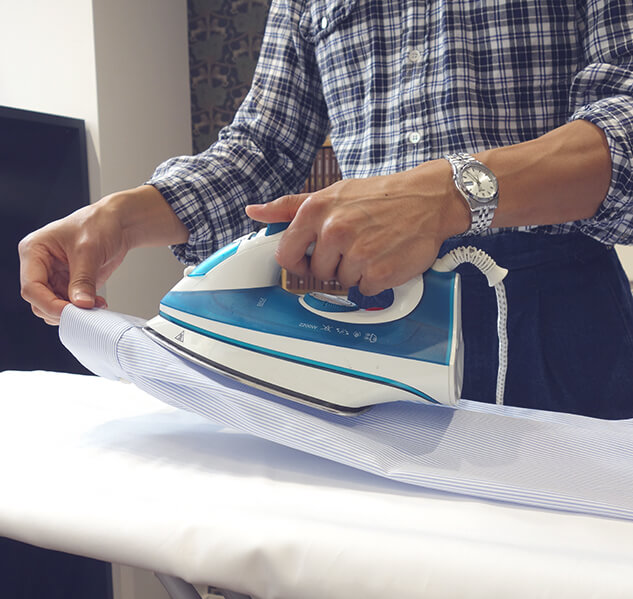
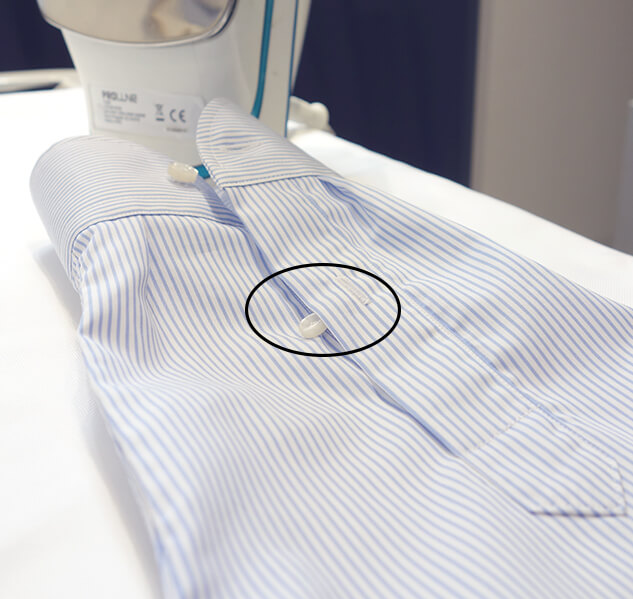
The other advantage of ironing the bottom of the sleeve this way is that you avoid scorching the upper layer of fabric where the button on the sleeve placket beneath is sewn.
If you keep running the iron over this stitching, you will eventually wear a hole in the fabric at that spot.
The raised stitching of this button creates a ridge under the iron that damages the opposite side of the sleeve.
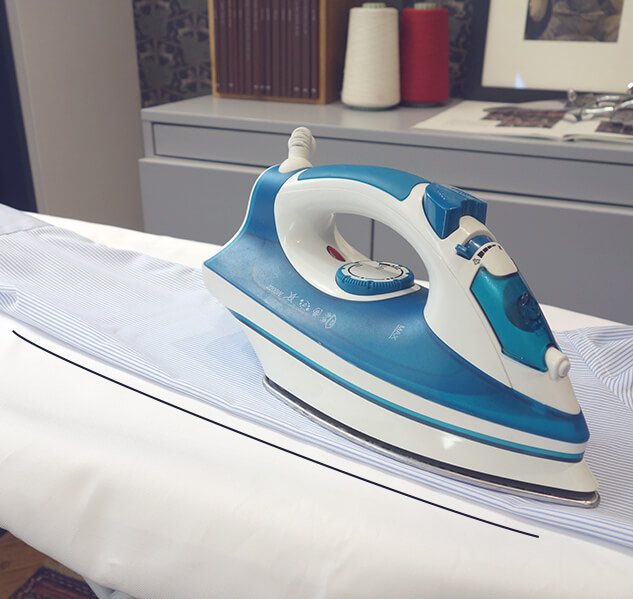
We recommend not pressing a crease between the shoulder and the cuff. It is not attractive and not necessary, unless you intend to store your shirt folded.
To iron the sleeve more easily without pressing side creases from top to bottom, use a sleeve board. These miniature ironing boards let you slip the sleeve round them and iron it smoothly, with no side creases.
Do the same with the other sleeve (8).
See our easy-iron fabrics
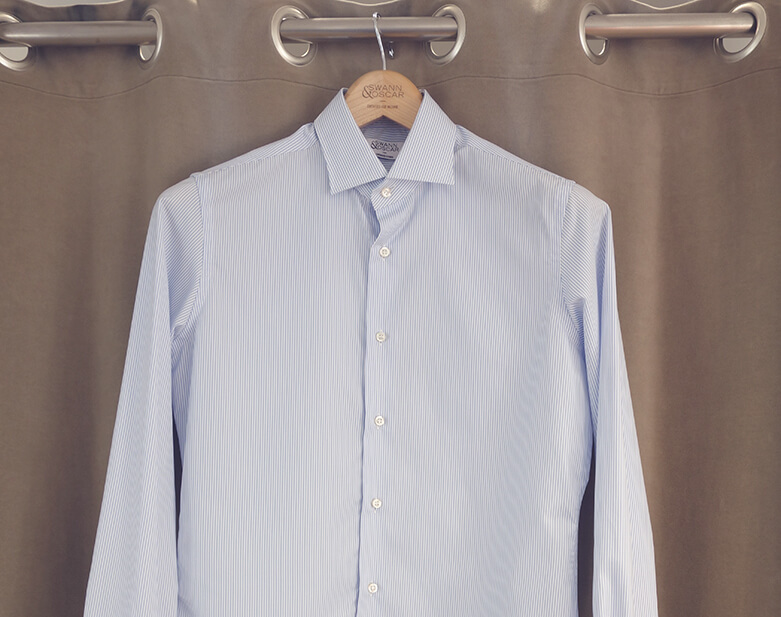
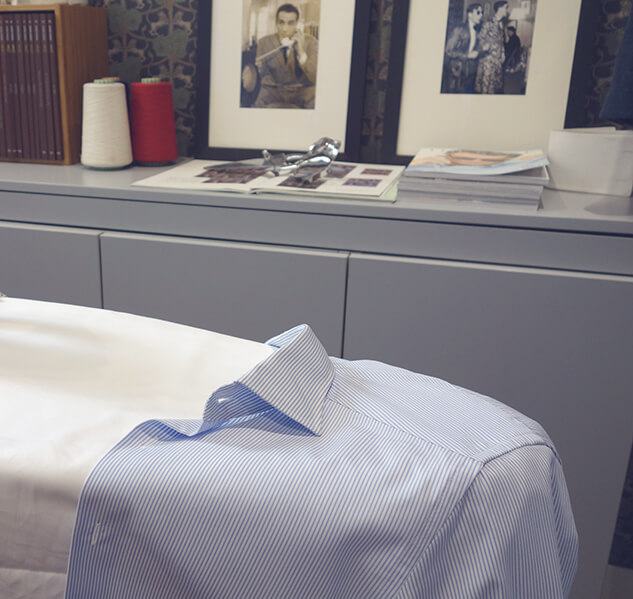
The collar is the simplest part and, at the same time, the one most easily damaged. It is also the most visible part of the shirt, so it deserves particular attention.
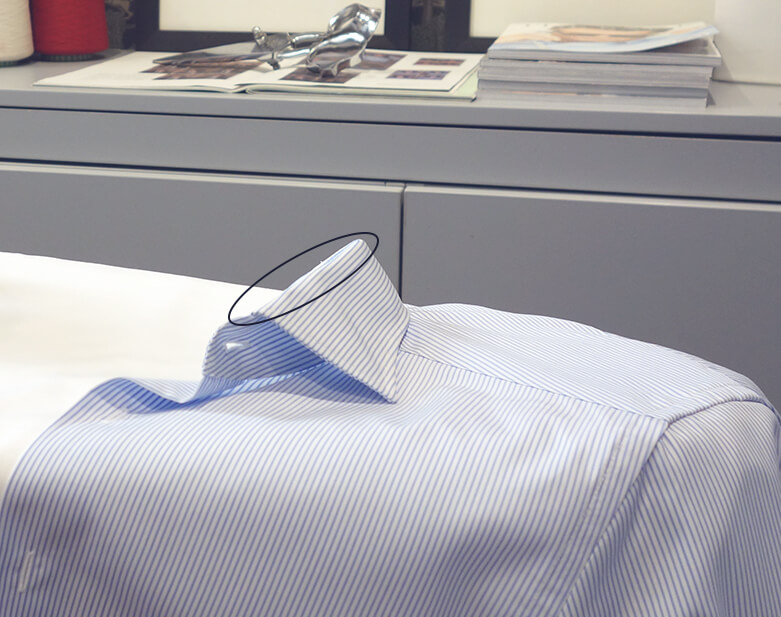
First rule: the collar is ironed with the points turned up (in other words, with the collar raised), so as not to press a crease into the fold between the points and the collar stand.
Otherwise, over time, the fabric will turn pale, the cotton will break and your shirt will no longer be wearable. So iron the collar with the fall turned up.
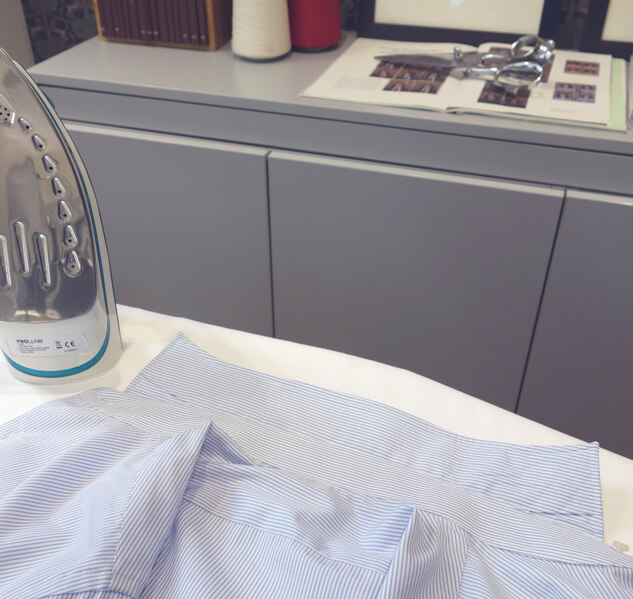
Second rule: with the fall turned up, the collar is ironed on the reverse side, from the right point towards the middle of the collar and from the left point towards the middle, so as not to create creases from the ripple of fabric that builds up in front of the iron and gets caught against a collar seam.
PS: Remember to remove your collar stiffeners if they are removable, otherwise their outline will show on the right side of the collar.
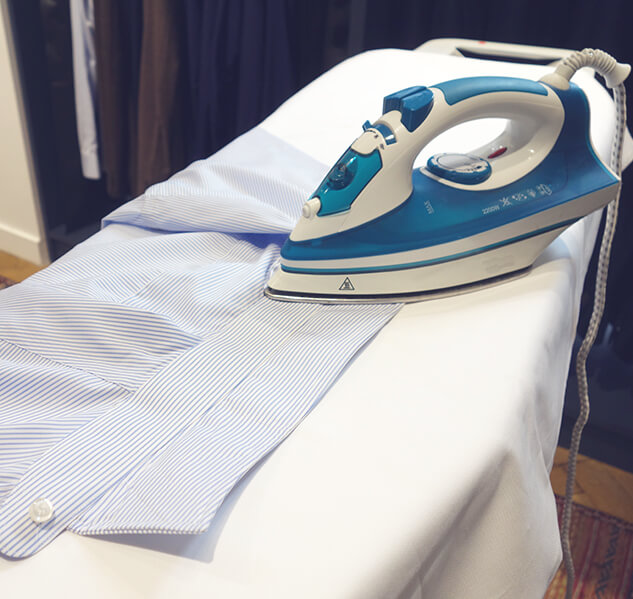
Third rule: do not linger on the collar stand or the collar fall. With a very hot iron, if you press down on the collar for several seconds, you will eventually damage the collar interfacing, and unsightly bubbles will appear, sooner or later depending on the quality of the interfacing.
The collar has interfacing to keep it smooth, so there is no need to be overzealous with the iron on this part of the shirt.
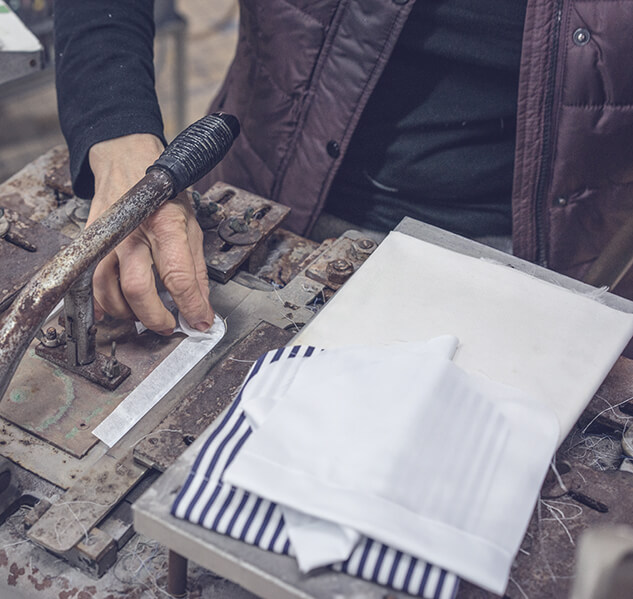
Like the collar, the cuffs do not need much ironing. This keeps their interfacing from wearing out too soon.
The cuffs are ironed unbuttoned, on the reverse side, running the point of the iron from the button stitching to the opposite buttonhole.
This way your cuffs keep a nicely rounded shape when you wear them.
Avoid ironing your cuffs buttoned and flattened under the iron. You would press a crease on either side of the cuff. That crease is not attractive, and over time the fabric turns pale along it and eventually gives way. A shirt with cuffs worn out so early is then difficult to wear.
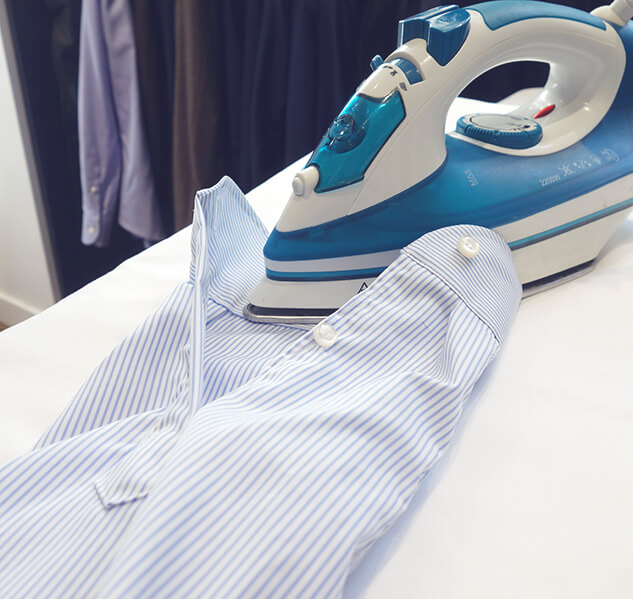
If your shirt has double cuffs, for cufflinks, open them out and iron them on the reverse side in the same way, taking care not to press the ripples of fabric against the seams. Always iron from the seams towards the middle of the cuff.
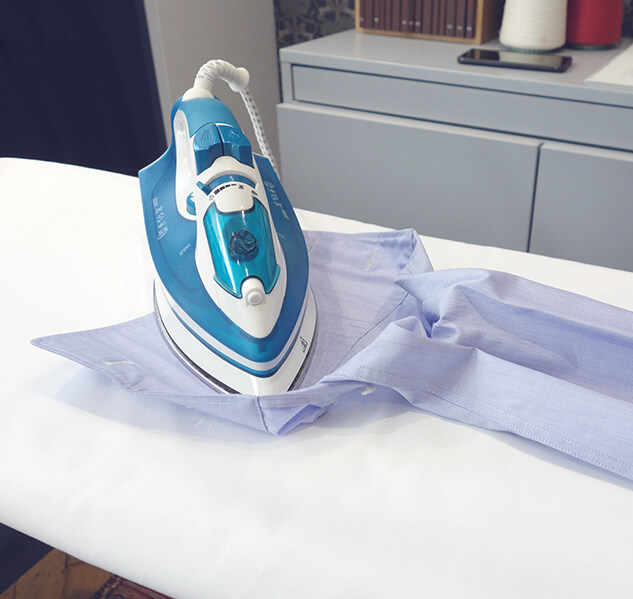
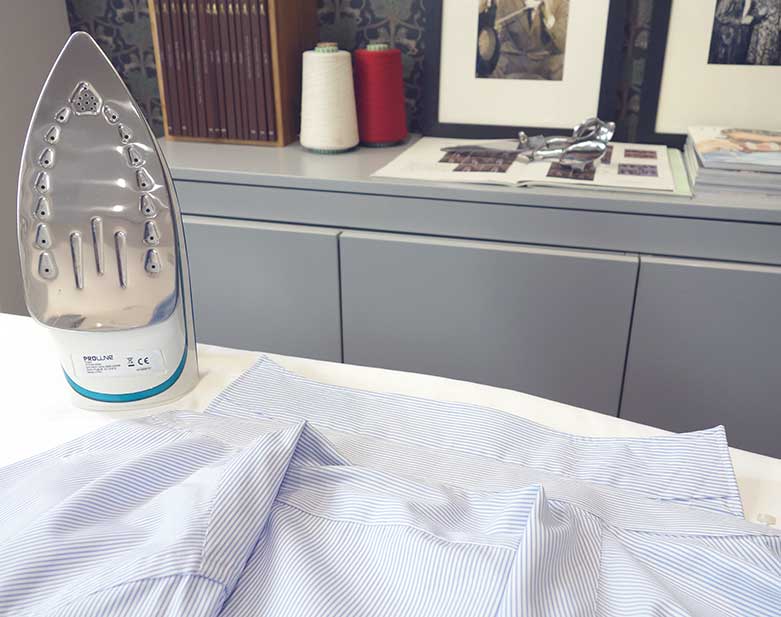
NB: If a careless stroke of the iron leaves an unwanted crease, use a water spray, or the one built into the iron, on the stubborn crease. Steam from the iron usually works very well. Some prefer to dab the crease with a wet finger for more precision.
Once your shirt is ironed, put it on a coat hanger so you do not have to fold it.
See our easy-iron fabrics
The answer is yes. Even fabrics treated to make ironing easier, or to resist creasing while you wear them, need a quick pass of the iron. Once again, the less time the shirt spends bundled up in the washing machine after the cycle, the easier it will be to iron.
This type of fabric usually needs no more than a single pass of the iron or a burst of steam to look crisp. Bear in mind that cottons with these properties are treated, and the treatment fades over time. After around fifty washes your shirt will probably need firmer ironing, but you will have gained at least two to three years of easy ironing.
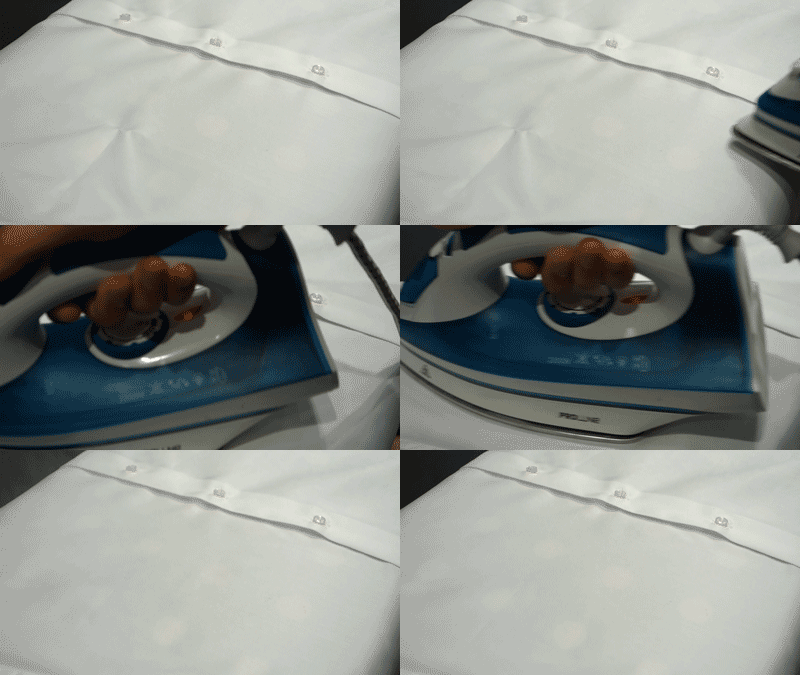
The body first: the left front, the back in three passes, then the right front, sliding the shirt round the board. Then the yoke, the sleeves, the collar and finally the cuffs. The sleeves can also be ironed before or during the body.
With the points turned up, in other words the collar raised, on the reverse side, from each point towards the middle, without lingering on the collar stand or the fall. An iron left too long scorches the interfacing and causes bubbles. Remove removable collar stiffeners before ironing.
No. Cuffs are ironed unbuttoned, on the reverse side, from the button stitching towards the opposite buttonhole. Buttoned and pressed flat, they take a crease that turns pale and eventually gives way. Double cuffs are opened out and ironed in the same way.
No, unless you store your shirts folded. A side crease is neither attractive nor necessary. A sleeve board lets you iron the sleeve without a crease. The pleats at the bottom of the sleeve are ironed in the air, with steam, the cuff lifted.
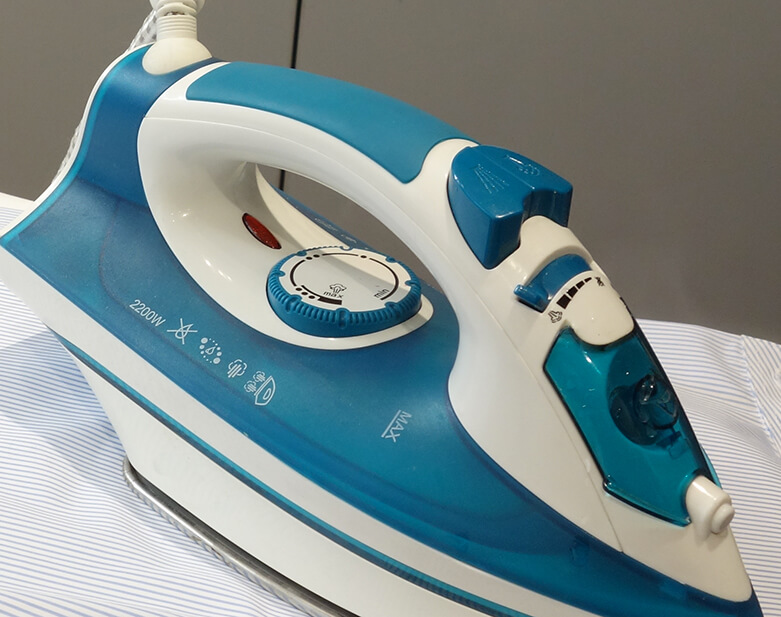
On the cotton setting, the hottest, with steam. Switch the iron on in advance so that it is properly hot and does not spit on the fabric with the first bursts of steam.
Take the shirt out of the washing machine as soon as the cycle ends, still damp, and let it relax on a coat hanger. A shirt left to dry bundled up sets its creases. If the iron leaves an unwanted crease, a water spray or a burst of steam is usually enough to remove it.
Yes, a single pass of the iron or a burst of steam is enough. These cottons are treated, and the treatment fades after around fifty washes, about two to three years of easy ironing, before firmer ironing is needed.